sales@sacontainer.com
 631 648 9088

When it’s time for a new roof, understanding the removal process is as important as selecting your new materials. A proper roof tear-off sets the foundation for your new roof’s performance and longevity. This guide walks you through everything you need to know about saying goodbye to your old shingles and preparing for a fresh start overhead.
Understanding When It’s Time for Removal
15-30 years is the life span of most asphalt shingles roofs, based on the durability of the materials used and the surrounding climate. According to the National Association of Home Builders, even the most durable roofing materials eventually need replacement.
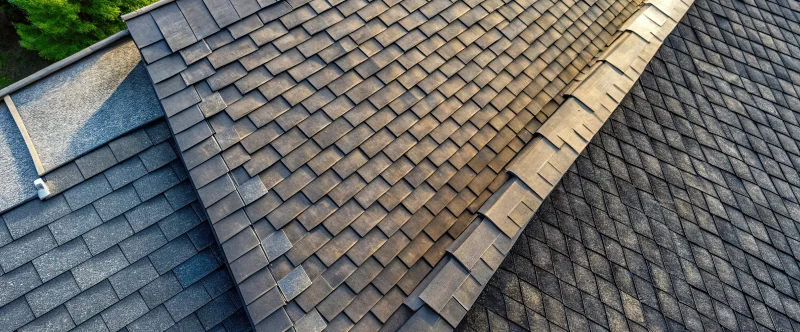
Signs it’s time include: Curling or buckling shingles that have lost their flat profile are crying out for replacement. When shingles begin curling at the edges or buckle in the middle, they’ve lost their ability to adequately protect your home from the elements.
Missing granules might seem like a minor issue, but those tiny particles are your roof’s first line of defense against UV rays. If you notice a large buildup of grit in the gutters or areas on your shingles where the surface layer is missing, your roof’s protective capabilities are compromised.
Discoloration on indoor ceilings or walls is frequently a sign that your roof has already begun to fail. By the time moisture makes its way into your living space, significant damage may have occurred to your roof deck and insulation.
The Process: What to Expect During Removal
Professional roofers typically follow a systematic approach to roof removal that protects your property while efficiently stripping away old materials.
Preparation and Protection
Before the first shingle comes off, experienced contractors will protect your property. This includes:
- Covering landscaping and outdoor features with tarps
- Positioning waste containers strategically for debris disposal
- Removing satellite dishes, antennas, or other roof-mounted accessories
- Setting up roof jacks and safety equipment for the crew
According to the Asphalt Roofing Manufacturers Association, proper preparation protects your property and creates a safer work environment for the roofing team.
The Tear-Off Process
The actual removal process is more methodical than many homeowners expect.
Contractors typically:
Start at the peak and work downward, removing shingles in sections. This controlled approach helps manage debris and prevents avalanches of material from sliding off the roof all at once.
Remove all flashing around chimneys, vents, and valleys. These metal pieces direct water away from vulnerable areas and must be replaced along with the shingles for a complete roof system.
Once the shingles are removed, inspect the roof deck for damage. Once exposed, the wooden decking that forms the foundation of your roof system often reveals hidden problems. Roofing professionals look for soft spots, water damage, or rot that would compromise your new roof.
The National Roofing Contractors Association reports that 10-15% of roof replacements require some deck repair, so budget accordingly.
DIY vs. Professional Removal: What You Should Know
While some homeowners consider handling their own roof removal to save money, there are important factors to consider before grabbing a pry bar.
The Case for Professional Removal
Roof work is inherently dangerous, and falls are among the most common construction accidents. But professional teams with the right experience and equipment can navigate steep slopes and challenging conditions.
Beyond safety concerns, professional teams have the equipment to complete the job efficiently. What might take a homeowner several weekends can often be completed by professionals in a single day.
Proper disposal is another challenge for DIY projects. The Environmental Protection Agency reports that approximately 11 million tons of asphalt shingles enter landfills annually. Professional roofers have established relationships with recycling facilities and waste management companies, ensuring proper disposal or recycling of your old roofing materials.
If You’re Considering DIY Removal
If you’re still determined to handle removal yourself, start with proper safety equipment:
- OSHA-approved fall protection
- Heavy-duty work gloves
- Safety glasses
- Sturdy footwear with good traction
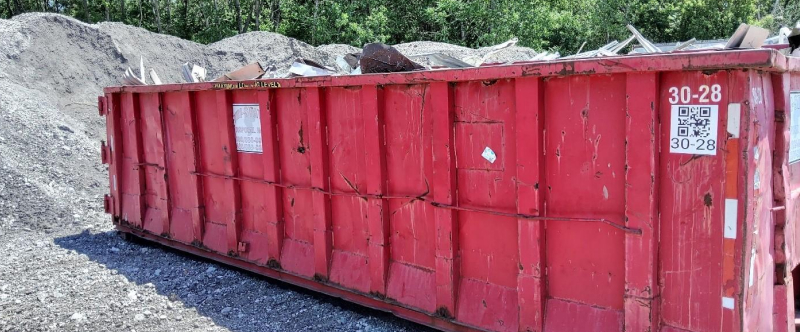
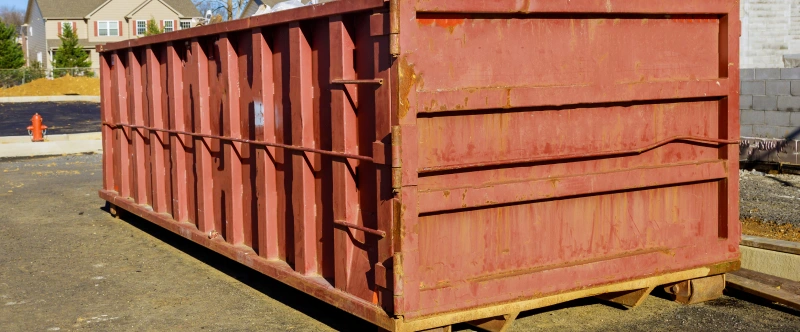
Rent a debris container large enough for your project. A typical 2,000-square- foot roof can generate 2-3 tons of waste, requiring at least a 20-yard dumpster. Companies like JD Roll Off Dumpsters specialize in providing the right-sized containers specifically for roofing projects.
Work methodically in small sections and avoid removing more shingles than you can cover before weather changes.
The Building Science Corporation recommends never leaving your roof deck exposed overnight.
Environmental Considerations: Recycling Your Old Roof
Modern roofing removal increasingly focuses on sustainability. Asphalt shingles can be recycled into pavement products, and many contractors now offer recycling options.
According to the Construction & Demolition Recycling Association, recycled asphalt shingles can offset the need for virgin petroleum in road construction by up to 20%. When selecting a contractor, ask about their recycling practices and whether they partner with local facilities that process old roofing materials.
Preparing for Your New Roof: Post-Removal Steps
After removal, several critical steps prepare your home for new roofing materials:
A thorough inspection of the exposed deck allows your contractor to identify and address structural issues that old materials may have hidden. Address these problems immediately rather than covering them with new shingles.
Installation of an ice and water shield along eaves and in valleys provides additional protection against ice dams and water infiltration in vulnerable areas. The Insurance Institute for Business & Home Safety advises that proper installation of these barriers can significantly help prevent moisture-related issues when severe weather occurs.
The application of new underlayment across the entire roof creates a secondary water barrier beneath your shingles. Modern synthetic underlayments offer superior protection compared to traditional felt paper.
Cost Considerations: Budgeting for Removal
Costs for removal are dependent on a few factors: The complexity of your roof’s design impacts labor requirements. Steep slopes, multiple dormers, or unusual architectural features increase the time and effort required for safe removal.
The number of existing layers affects both labor intensity and disposal costs. Some homes have multiple layers of shingles installed over decades, all of which must be removed before installing new materials.
Your geographical location influences labor rates and disposal fees. According to HomeAdvisor, roof removal costs are anywhere from $1 to $5 per square foot.
A Fresh Start Overhead
Removing your existing roof the right way lays the foundation for a durable, high-performance roofing system. Whether you hire experts or tackle it yourself with thorough preparation, knowing what’s involved empowers you to handle this major home upgrade with confidence.
By properly removing old materials, addressing underlying issues, and preparing for quality installation, you’re setting the stage for decades of protection from your new roof. Professional roofing companies like NB Roofs can help you through this process, providing an initial assessment and handling removal and installation of your new roofing system.
This post was written by Josef Doctorovitz, a seasoned digital marketing professional with extensive experience in the roofing and disposal industries.